Hewlett Packard is one of the leading and renowned names in the world of printers.…

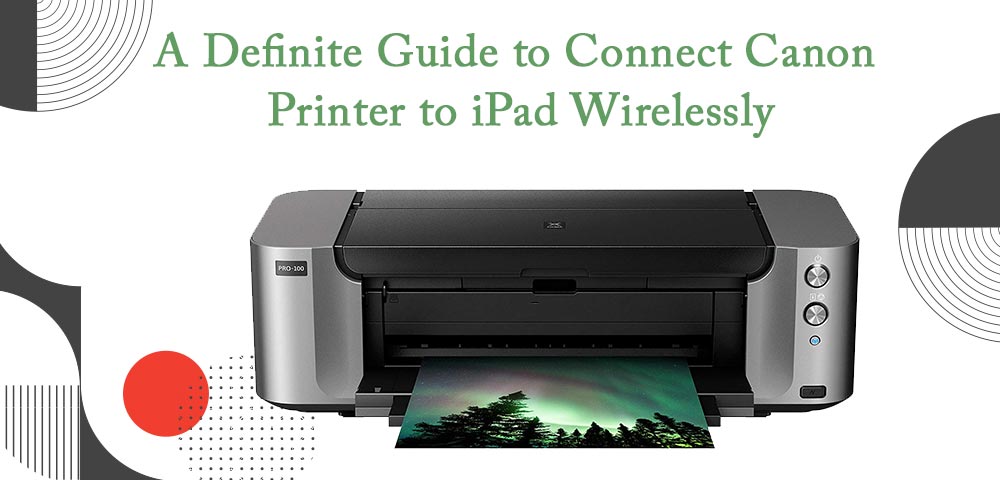
A Definite Guide to Connect Canon Printer to iPad Wirelessly
Canon Printers are among the most popular printing machines today. One of the main reasons why people prefer using Canon Printers is its excellent print quality and innovative design. Moreover, devices ranging from desktop computers and smartphones to tablets and iPads, you can connect all to the printer and fulfill your printing requirements.
Here, we will discuss how to connect iPad to Canon Printer wirelessly and will help you gather some valuable insights into using the printing machine in an error-free way.
Adding Your Canon Printer to iPad
If you are ready with your Canon Printer and an iPad, you might wonder how to connect iPad to Canon Printer. But, before we start with this discussion, let’s see how you can add the printer to your iPad. Most of the operating systems let you configure printers using various options under printer settings or similar menus. However, in the case of iOS devices, this is not the case. If you are using an iPad, you need to follow the below-mentioned steps to add the printer to the device:
- Turn on your printer and ensure that the power LED of the printer is lit.
- On your iPad, open the Mail app.
- Tap on the “Share” icon and then on “Print”. Most of the apps on iPad come with the “Share” option.
- Tap on “Select Printer” and then on your AirPrint-enabled wireless printer from the list of available printers.
How to Connect Apple iPad to Canon Wireless Printer?
Before we start discussing how to connect Canon Printer to iPad, make sure that both the devices are on the same wireless network. Once you ensure this, you can start connecting the iPad to the Canon Printer. You can follow the below-mentioned instructions to connect the Canon Wireless Printer to your iPad:
- Turn on your printer by first connecting the power adapter of the printer to the electric socket and pressing the printer’s power button.
- Since we are connecting the iPad to the printer via AirPrint, you must disconnect the printer’s Bluetooth or any other cable connections.
- Use the printer’s menu to connect it to the wireless network, if it’s not already connected wirelessly. Ensure that you have connected the printer to the correct wireless network and that you have entered the correct Wi-Fi key.
- On your iPad, tap on “Settings”.
- On the upper-left-hand side of your screen, tap on ‘Wi-Fi” to open the iPad’s Wi-Fi menu.
- Ensure that you are connected to the same wireless network as your Canon Printer.
- Place your Canon Printer near the iPad and then print your documents or photographs.
Printing Documents Using AirPrint
Unlike the traditional computer, you don’t need to install or set up your Canon Printer to print your documents. With AirPrint, all you need to ensure is that your iPad is on the same wireless network as the printer. You can then follow the below-mentioned instructions to print all your documents and photographs using AirPrint:
- On your iPad, open the document or photograph you want to print using the Canon Printer.
- The method of printing varies from app to app. You can locate the app’s “share” feature by tapping the “Reply” arrow mark in the Mail app. In Safari and photos, you can find a square with an arrow pointed upwards.
- Tap on the “Print” option or the print icon on your iPad.
- Tap on the “Select Printer” option and wait until the list of available AirPrint Printers appears on the screen.
- From the list of available options, select your Canon Printer and then the number of copies you need to print, or the printing color.
- Tap on “Print” to start printing your document.
Alternate Way to Connect iPad Air to Canon Printers
Although we have discussed how to connect Canon Wireless Printer to iPad, there’s one more way by which you can execute this task in a simple and effortless manner. To start with this process, you need to first download the Canon Print app on your iPad. Once you download and install the Canon Print app, you can open the App Store icon on your iPad and then tap on the search button to type “Canon Print” followed by a tap on Search. Once you complete these steps, you need to set up the printer by following the series of steps mentioned under to learn how to connect Canon Printer to iPad air:
- Turn on your printer by connecting the power adapter of the printer in an electric socket and pressing the printer’s power button.
- Ensure that the green lamp on the printer’s power button is lit.
- Check the Wi-Fi lamp on your printer. It should be flashing. In case you see that the WiFi light is stable, press and hold the Wi-Fi button until the alarm lamp flashes twice. You can then release the button.
- On your iPad, tap on the Canon Print icon and follow the on-screen prompts.
- You can now launch the Canon Print app on your iPad and tap on the Printer icon on the Register Printer tab.
- Tap on “Printer Setup” and select “Connect via Wireless Router”.
- You can now see a screen on your iPad prompting you to connect the device to WiFi.
Once you complete the series of steps mentioned above, go to the Settings option on your iPad and then tap on the “Wi-Fi” option to connect to the Canon_IJ_Setup network. After connecting your iPad, you need to tap on “OK” on the Canon Print app. To complete the process of connecting the iPad Air to the printer, follow the series of steps mentioned below:
- From the list of available wireless networks, select your access point or the wireless network name (SSID) you’d like to use.
- Enter the wireless network password in the required space and tap on ‘OK’.
- Tap on ‘OK’ once the network settings are sent to your Canon Printer.
- Wait for some time and you will notice that the printer is detected.
Unlike traditional computers, the process of connecting a Canon Printer to an iPad doesn’t require you to install or complete the printer’s setup using the printer software. To get an answer to the question, how to connect Canon Wireless Printer to iPad, you need the Canon Print app installed on your iPad. You can then add the printer to your iPad and follow the series of steps as mentioned here. Once the devices establish a connection, you can start all your documents and photographs using the iPad in no time.
Related Stories to Read :
How to Setup Canon Wireless Printer
Canon Pixma Printer Wireless Setup
Subscribe
0 Comments


