Hewlett Packard is one of the leading and renowned names in the world of printers.…

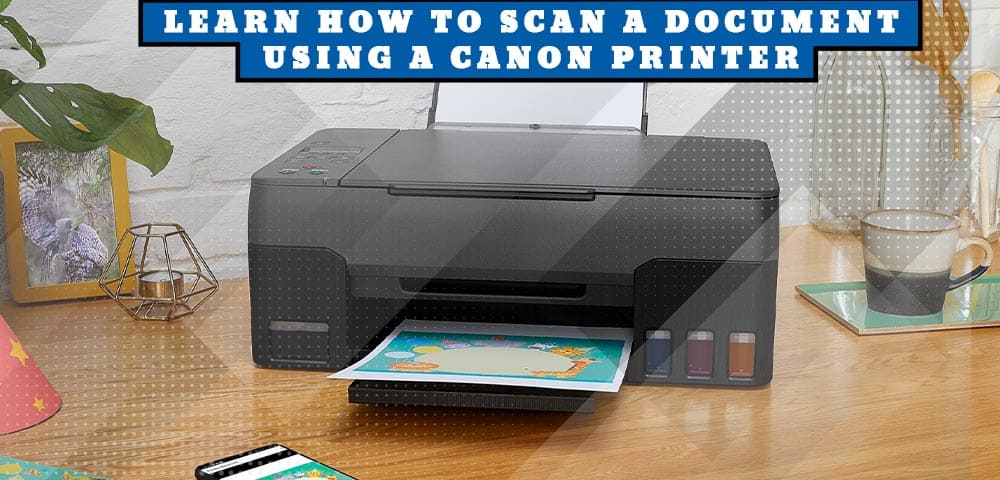
Learn How to Scan A Document Using a Canon Printer
A Japanese multinational corporation, Canon is known for producing various products such as cameras, lenses, medical equipment, scanners, printers, and more. Of these, the printer is one of the most popular devices that most individuals prefer to fulfil their printing requirements. If you have an All-in-one Canon Printer, you can use the device for scanning purposes too. However, if you are new to scanning, you might want to know how to scan on Canon Printer.
In this blog, we will guide you with the step-by-step process of scanning a document or photograph using a Canon Printer. Additionally, we will help you gather some valuable insights into using this device in an error-free way. Read on!
How to Scan on a Canon Printer?
Apart from printing, you can use an All-in-One Canon printer for scanning a document or photograph to your computer. You can use any of the below-mentioned scanning methods to scan a document using the printer:
- Using [Start] on the Canon Printer
- Using the MF Toolbox
- Using an Application
Let’s have a look at the process of scanning a document using a Canon Printer and get an answer to questions like how to scan from Canon Printer, how to scan on Canon Printer, etc.
Scan Using [Start] on the Canon Printer
- Place the document or photograph onto the scanner glass of your Canon printer.
- Press the “Scan” button repeatedly and select “USB Scanning”.
- Press the “Start” button.
In case you are prompted to select a program to launch, select “MF Toolbox Ver4.9” and you will notice that the scanned document is processed accordingly. Once the scanning of your document is complete, you will find a folder with the scanning date created in the “My Pictures” folder of your C: drive. All your scanned documents will be auto-saved in this folder.
Scan Using the MF Toolbar
Using the buttons on the MF Toolbox, you can scan a document or photograph by following some simple steps. To start with the process of scanning using this method, first, place the document or photograph on the scanner glass. The next step requires you to double-click on the “Canon MF Toolbox 4.9” icon on Windows desktop. Further, you can follow the below-mentioned steps to get answer to the question, how to scan a document from Canon Printer:
- While the MF Toolbox is open, click on one of the scanning options.
- If you click on “Mail”, the scanned document will be attached to the email application of your computer.
- If you select “OCR”, the document will be scanned and read by the OCR software.
- Clicking on “Save” will scan and save the document to your computer.
- The “PDF” option allows you to save the scanned document in a PDF file.
- Once a scan setting dialog appears on the screen, you can specify the required settings for the document to be scanned.
- Upon making the required changes, click on “Scan” to start scanning.
Scan Using an Application
You can use a Windows complaint application to scan a document using your Canon Printer. To start with the process, place the document on the scanner glass and open the application you prefer for scanning the document. Further, you need to select the command to scan and then select the scanner. Once you make the required changes in the scanner settings, select the “Scan” button to scan your document using the application.
How to Scan With a Canon Printer Using IJ Scan Utility?
If your computer is installed with the IJ Scan Utility, you can use it for scanning a document using your Canon Printer. First, you need to navigate to the IJ Scan Utility folder by following the series of steps mentioned under:
For Windows PC
- Click on the Start menu.
- Select the “Canon Utilities” folder.
For Macintosh
- Click on the “Go” option located at the top (Menu Bar).
- Click on “Applications”.
- Open the “Canon Utilities” folder.
- Open the “IJ Scan Utility” folder.
Once you navigate to the Canon Utility folder, you need to launch it in order to get an answer to questions like how to scan with Canon Printer. To start with, click on the “IJ Scan Utility” folder and then on “Settings”. You can find the “Settings” option at the lower-right corner of the Utility wizard. Further, you need to click on the “Document Scan” option as shown under and follow the series of steps:
- Click on the “Data Format” option and select “PDF” as the document type. Doing this also allows you to scan multiple pages onto one document.
- Save the scanned document to your preferred location on your computer and click “OK”.
- If there are other documents to scan, place them on the scanner glass and scan the document. If you are done scanning, click on “Exit”.
Manual Scanning of Documents in Windows OS
If you have queries like how do I scan a document from my Canon Printer to my computer manually, you can do so by following some simple steps. It requires you to first click on the “Start” menu on your Windows desktop and then type “Windows fax and scan”. This will open up the Windows Fax and scan app. Further, you can click on the “Windows fax and Scan” option followed by a click on “New Scan” located in the upper-left hand side of the Fax and Scan window. You must ensure that the correct device is selected in the “Scanner” section. If it doesn’t show the relevant scanner, you can click on the “Change” option to select your Canon Printer. Once done, follow the below-mentioned steps to complete the scanning of your document:
- Select the document type by clicking on the “Profile” drop-down box.
- Select the type of document.
- Set your color preferences for the document to be scanned.
- Click on the “File Type” option to select the type of file you are about to scan (PDF or JPG).
- Change other options on the page and click on “Preview” to preview your document in the scanner.
- Lastly, click on the “Scan” option to start scanning the document.
How to Resolve If Canon Printer Won’t Scan?
Now that you have answers to questions like how to scan a document from Canon Printer to computer, read on to explore how to resolve when the Printer is unable to scan. Yes, instances might occur when you are stuck and can’t use the printer for scanning a document. In such cases, you can follow some simple troubleshooting steps to get rid of the problem.
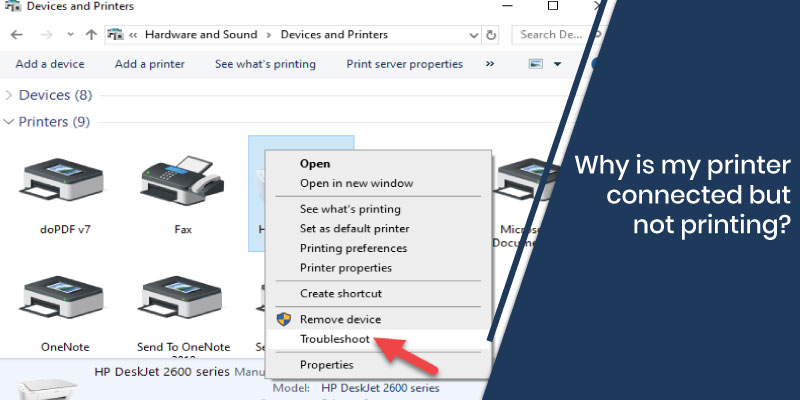
One of the most common reasons why your Canon Printer is unable to scan is because of an outdated printer/scanner driver. Secondly, if the device driver is corrupted, your scanner might not work properly. While there could be many other reasons behind such issues, you can follow some simple techniques to get rid of it. First, you can check the scanner’s compatibility with your Windows or Mac device. For instance, the Canon Printer models are usually compatible with Windows 10 but not with Windows 10S. Next, you can run the “Hardware and Devices Troubleshooter” to get rid of the scanning issue of the printer. Here’s how you can run the troubleshooter:
- Click on the “Type here to search” bar at the lower-left corner of your Windows desktop.
- Type “troubleshoot” in the blank space and select the “Troubleshoot” option to launch it.
- Under the Settings app, select “Hardware and Devices” followed by a click on “Run the Troubleshooter”.
Once you run the troubleshooter, check if the scanning issue you were facing is resolved. Alternatively, you can perform a quick restart of the device and check if you can scan a document or photograph.
If you have a Canon Printer and are wondering how to scan on it, you can either use the “Start” button of the printer, use the MF Toolbox, or any compatible application for your Windows or Mac. You can follow the series of steps as mentioned here and ensure a smooth scanning of your document. Follow them the exact way and save your scanned document in your computer’s hard drive, an external disk, or attach it to your email.
Some Related Stories to Read
Subscribe
0 Comments


