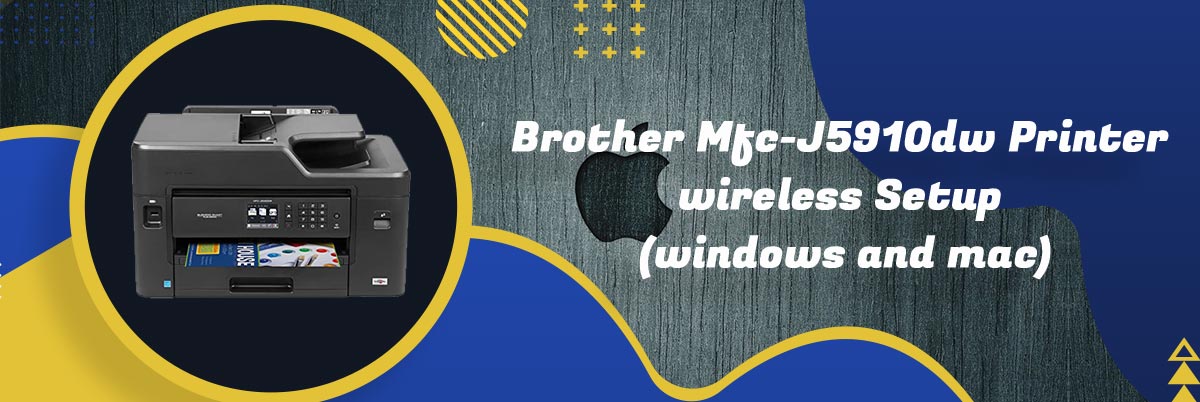
The Brother MFC-J5910DW is an all-in-one printer that can print up to A3 size and scan, copy, and fax in A4 format, allowing you to make the most out of your workplace space. It has automatic two-sided printing, a 35-sheet automated document feeder, wireless and wired connections, high-yield ink cartridges for a lower cost per page, and a paper input capacity of up to 250 A3 sheets to satisfy the demands of a busy office setting. Learn how to complete your Brother MFC-J5910DW wireless setup and complete your driver installation with this Brother MFC-J5910DW printer manual guide.
Brother Mfc-J5910dw manual guide
Before utilizing the printer, users must first complete the Brother MFC-J5910DW Setup. Connecting your Brother MFC-J5910DW printer to your computer might be difficult at times. The Brother MFC-J5910DW Printer Manual contains all essential instructions for manually configuring the Brother MFC-J5910DW Wireless Setup. These instructions will mostly guide the Brother MFC-J5910DW Wireless Setup process. To finish the Brother MFC-J5910DW Printer Setup procedure, the user must carefully study the Brother MFC-J5910DW manual guide.
Brother Mfc-J5910dw Printer Driver Download for windows
To complete your Brother Mfc-J5910dw driver install and Setup on Windows and Mac, follow the steps given below:
How to Setup Brother MFC J5910DW Driver on Windows?
For Brother Mfc-J5910dw download driver on Windows, follow these steps:
- Download the Brother MFC J5910DW driver from the official website.
- Download the driver in ZIP/RAR format.
- Please unpack the file when the download is complete.
- After that, go to the “setup” menu and right-click “Run as administrator.”
- Please follow the installation instructions and then click Next.
- After that, click Finish.
- After you’ve completed the installation, you may attempt printing, scanning, or faxing, depending on your printer’s capabilities.
How to Install Brother MFC J5910DW Driver on Mac OS?
For Brother Mfc-J5910dw download driver on Mac OS, follow these steps:
- Download the Brother MFC J5910DW driver from the official website.
- Download his driver in ZIP/RAR format.
- Please unpack the file when the download is complete.
- After that, go to the “setup” menu and double-click on the file.
- When the installer prompts you to choose a printer connection option on your Mac, pick USB to proceed and complete the Setup.
- After you’ve completed the installation, you may attempt printing, scanning, or faxing, depending on your printer’s capabilities.
Brother Mfc-J5910dw Printer Installation (Mac and Windows)
To complete your Brother Mfc-J5910dw install and Setup, follow the steps given below:
- Open your browser and visit the link to download the driver
- Type in the type of printer on the search box and scroll down to find the appropriate driver.
- Click on the download button to download your driver.
- Once your driver is downloaded, double-click on it and open the file.
- Follow the on-screen instructions to complete the installation.
- Connect your Brother printer to your computer and to a power outlet using a USB cable.
- Click on the Control Panel and select hardware and sound devices.
- Go to devices and printers on your computer.
- Click on add a printer and select your brother printer model name and click next.
- In case the model name is not listed, select Add a printer using TCP/IP address or hostname and click on next.
- Type in the IP address of your Brother Printer in the post name or IP address field.
- Once entered, click on Finish to complete your printer installation.
Brother Mfc-J5910dw Printer Wireless Setup
To complete your Brother Mfc-J5910dw wireless setup, follow the steps given below:
- Click on the menu button on your Control Panel.
- Click on Network and then press OK
- Select the WLAN option and then click on the OK button
- Select the Setup wizard option and wait for a few seconds till the printer searches for the SSID
- The wifi icon will appear on the screen
- Click on the wifi icon and select your desired wireless Network
- After selecting your wireless network, enter the password for the Network
- Wait and till the connection is successful and verified
- Your brother printer wireless set up is complete
How to connect Brother Mfc-J5910dw Printer to wifi?
To complete your Brother Mfc-J5910dw connect to wifi setup, follow the steps given below:
- Connect the power cord to your brother Mfc-J5910dw printer and to a power outlet
- Switch on your brother Mfc-J5910dw printer
- Click on the settings or menu option and go to Network
- Click on WLAN and go to the Setup wizard
- Enable the WLAN option to begin the wireless connection
- The printer will search for all the available wireless networks and display a list of network names
- Choose your preferred wireless Network from the list displayed
- Click on OK
- The printer will connect to the wireless network which you have selected
- Once the printer is connected, it will display a connected message on the printer’s control panel.
How to connect Brother Mfc-J5910dw Printer to Computer and Laptop?
To connect your Brother Mfc-J5910dw Printer to Computer and Laptop, follow the steps given below:
- Turn the printer on.
- Type “printer” into the Windows Search text box.
- Choose from a variety of printers and scanners.
- Select Add a printer or scanner from the Settings pane.
- Choose to add a device.
- Wait for Windows to install the required drivers and connect the printer to the laptop.
- You may be prompted to install extra software by Windows. If that’s the case, go to the Microsoft Store and click Get the app to download and install the program.
- If Windows is unable to locate the printer, double-check that the laptop and printer are connected to the same network.
- Choose Next after selecting Add a Bluetooth, wifi, or Network discoverable printer in the Add Printer box.
- Choose Next after selecting the wireless printer.
- When you’re finished, close the Settings window.
Frequently Asked Questions:
How to replace Brother Mfc-J5910dw Printer ink cartridge?
- Open the ink cartridge cover and press the lock release lever to release your name cartridge.
- Take out the ink cartridge from the Brother printer
- Take out the new ink cartridge and move the orange protective packaging.
- Insert the ink cartridge according to the direction of the arrow displayed on the label of the ink cartridge
- Gently push the back of the cartridge until it clicks into place
- Close the ink cartridge cover
How to fix a paper jam on Brother Mfc-J5910dw Printer?
- Unplug your brother printer from the power outlet
- Pull out the paper tray and gently pull out the jammed paper
- Press the jam clear flap and remove the jammed paper
- Put the paper tray back into the printer
- Check the inside of the printer by moving the print head and remove any pieces of paper remaining inside the printed
- Lower the scanner cover and close the cover
- Lock the power got back into the printer and the power outlet.
Related Stories to Read :
Brother MFC-7840W printer wireless setup
Brother MFC-7860DW Printer Driver Download
Brother MFC-9130 CW Printer Wireless Setup
Brother MFC-J470DW driver install