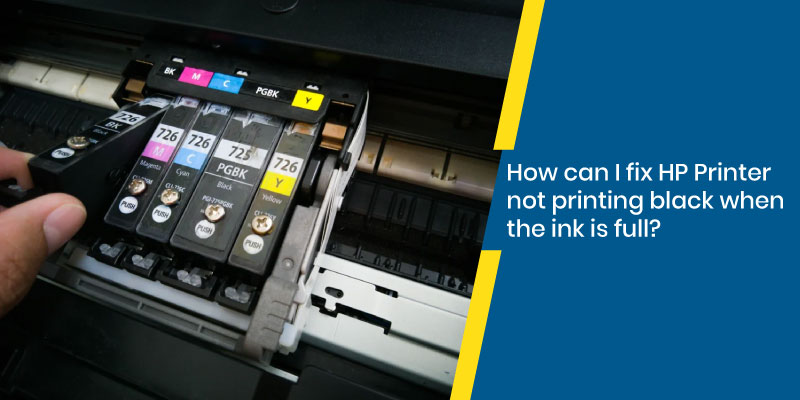
Hewlett Packard is one of the leading and renowned names in the world of printers.…

Easy Guide to Connect Dell Printer to Wifi
Dell printers have changed the market space for all the users by enabling a working environment that does not have wires to detangle for printing. Furthermore, once you have a Dell printer, you can use the wireless network configuration to use the Dell printer. Thus, you can print and de-clutter the workspace. In this blog, learn how to connect Dell printer to Wifi and so much more!
Connect Dell Printer to Wifi Using an Installation CD:
Dell printers have the wireless connection feature to give commands to print without using the USB cable. But, Connecting a Dell printer can be a bit of a hassle with the installation CD. So here are a few quick and easy steps for you to install the Dell printer to your Wifi:
- Turn on your printer
- Turn your computer on and connect the computer to your Wifi.
- Insert the Software CD which came along with the Dell printer
- Accept the terms of the License Agreement
- Follow the guided directions from the CD
- Complete the process
- Fill in your paper trays and cartridges
- Disconnect the USB cable
After completing these steps of how to connect Dell printer to Wifi, you have successfully configured your Dell printer using a CD and solved how to connect Dell printer to computer. Read more to know how do I install a Dell printer without the CD!
How to connect Dell printer to wireless network in Windows without the CD?
You can also connect Dell printers without the software CD if it is not provided to you. You can go to the website and add the Dell printer to your Wireless network in a few steps. Make sure you follow these steps to know how to:
- Click the Start button
- Then go to Control Panel.
- Double-click Devices and Printers from your Control Panel.
- In Windows, it’s called Printers.
- Click Add a printer.
- Select the tab for adding a wireless or network printer.
- Windows shall search for any printers on your network.
- Select your printer from the list.
- If the Add Printer Wizard pops up
- Then select your printer’s manufacturer model
- and click OK.
- Complete and click on finish.
Follow these steps as mentioned above to know how to connect Dell printer to wireless network using Microsoft Windows:
Learn how to add a printer to a Dell laptop:
Add your printer to your Dell laptop so that whenever you have to print, you do not have to go through the whole setup process again. Make sure you follow these steps to add a local printer to your Dell laptop easily:
- Connect the printer to your computer by the USB cable
- Please turn it on.
- Open the Settings app
- Click Devices.
- Click Add a printer or scanner.
- If Windows detects your printer
- Click on the name of your printer
- Follow the on-screen instructions to finish the guided instructions
And you have learned how to add a printer to a Dell laptop by following these steps!
Learn to locate your WPS pin on your Dell printer!
WPS pin is your wireless connection pin with your router and helps you to connect with your device. It helps to protect an unnecessary third party from using your network. How to know where is the WPS pin on my Dell printer
- Firstly, make sure your computer is connected to WIfi
- Turn your devices on
- Click Set Up a New Printer
- Click Continue.
- Select your printer, and then click Continue.
- Type your WPA password
- Click on ‘continue’ and then click on exit.
- You can find the WPS on your control panel after writing “Find WPS,” and you will have the option of resetting if you have forgotten.
You have completed the steps and learned how to know where is the WPS pin on my Dell printer
Learn how to find Dell printer IP address?
IP addresses come in handy if you are planning to connect and access an unknown device. So if you are planning to connect with a new device, IP addresses are needed to check if it’s a suitable device. Here is a quick way to find your Dell printer’s IP address!
- Click on Start,
- Then head into the Control Panel,
- And then into Printers.
- Right-click your printer
- And select properties.
- Head into the Ports tab
- You will find the IP address of your printer
And you have successfully learned how to find Dell printer IP address in a few quick and easy steps! So read the steps mentioned above to know how to add printer to Dell laptop in a few quick and easy steps but if you have a query regarding how to add printer to Dell’ laptop, make sure you contact professionals!
How to connect the Dell e310dw printer to Wifi?
You can connect Dell’s E310DQ printer to Wifi without any hassle, and for your convenience, we have laid the proper steps for a quick setup. Follow these guided instructions to connect and access your printers as long as you are within the printer’s radius. Here is how to Connect Dell E310DW Printer to Wifi?
Using the WPS button on your Wifi:
- Firstly, be sure that your wireless access point/router supports WPS or AOSS.
- Using up and down arrow buttons
- Go to select the ‘Network’ option
- Then press OK.
- Now select the WLAN option.
- Press OK.
- Choose the WPS/ AOSS option
- Press OK.
- Then WLAN enabling option shall appear.
- Click on WPS
- Connect your Wifi your print machine
- You will be successfully connected after following these steps as mentioned above!
Using the Printer’s Control Panel Setup Wizard:
- Firstly, note down your Network name (SSID)
- Note your Network Key (Password) and keep it handy
- Using arrow keys,
- select the Network option
- Then press OK.
- Choose the WLAN option
- Then press OK.
- Now select the Setup Wizard option.
- Press OK.
- Click on the ON option where WLAN Enable appears.
- Now your printer shall search for your network
- It will display a list of available SSIDs.
- Select SSID you want from the list that is displayed
- Then press OK.
- Now enter the Network Key (Password).
- Now, after selecting your Wifi, your printer will be connected to your Wifi.
- Now you can give the command to print, and you will be done!
It is how you how to connect Dell e310dw printer to Wifi! Hoping this was useful for you and if this does not work for you, make sure you get in touch with the experts for your queries!
FREQUENTLY ASKED QUESTIONS:
Does Dell make printers?
Yes, Dell has printers with many unique features and qualities that can help you upgrade your workspace.
How do you set up your Dell E525w printer?
- Select Menu
- Then go to the System
- Choose Admin Menu
- Select your Wifi from Network
- Set up your Wireless
- Then select your Dell printer and print.
How do I find Dell drivers?
Go to the Dell drivers and Download website. You have to enter your product name and click on check. It will automatically find and update your Dell driver.
Can you use any printer with any computer?
Yes, Modern printers have come equipped with being connected with any updated computer for convenience. But it’s always recommended to update and upgrade your device regularly to avoid glitches.
How do you scan from your Dell printer to my computer?
- Go to the web browser
- Type your IP address
- Click on setting
- Then scan defaults
- You can change the network settings to wireless.
If you wish to learn how to connect a Dell printer to computer, Make sure you read the complete blog and get in touch with Dell assistance through chat or mail if you wish to know how do I install a Dell printer without the CD.
Related Stories to Read :
Related Posts
Subscribe
0 Comments