Hewlett Packard is one of the leading and renowned names in the world of printers.…
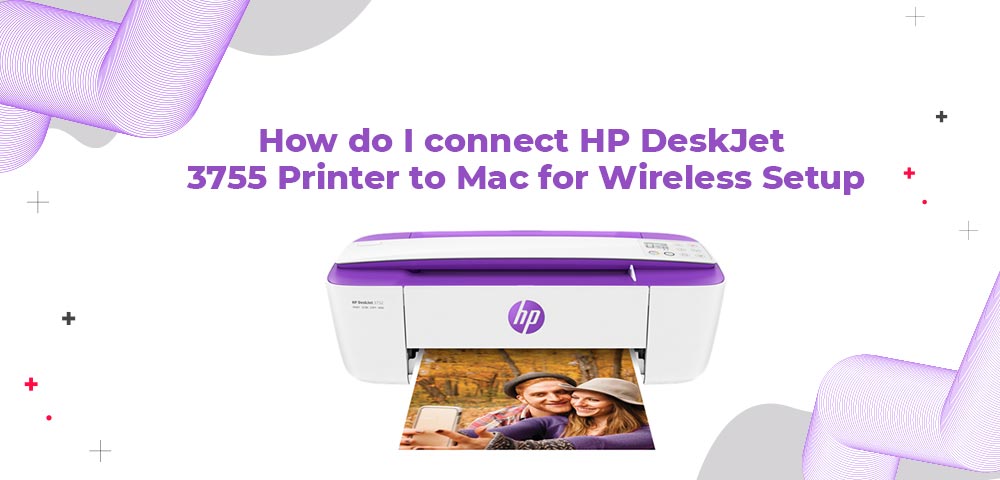
How do I connect HP Deskjet 3755 Printer to Mac for Wireless Setup?
You can conserve space while still obtaining the functionality you need with a compact HP Deskjet 3755 all-in-one printer for your house. The HP Deskjet 3755 printer’s scroll scan function makes most scan jobs simple, and its ultra-compact printer is designed to fit into tiny places. You may save up to 50% on ink and never run out with HP Instant Ink. You can also print in color or black-and-white for the same cheap price with Instant Ink. Print, scan and duplicate what you need wirelessly and fast. Print whatever you need quickly and easily from a range of smartphones and tablets. You can connect fast and start printing right away with a simple setup from your smartphone or tablet. Read this HP Deskjet 3755 manual to learn how to complete your HP Deskjet 3755 setup, install your HP Deskjet 3755 driver HP Deskjet 3755 ink installation.
What does HP Deskjet 3755 manual says about wireless setup?
To set up and install your HP Deskjet 3755 wireless printer, you simply follow a few simple steps. Users can quickly complete the setup procedure for their HP Deskjet 3755 printer with the aid of our HP Deskjet 3755 manual guide. This manual guide includes instructions for printer setup and driver installation, wireless setup, ink installation, and procedure for scanning documents on the HP Deskjet 3755. To ensure a successful installation, please follow all of the instructions in this manual guide.
What are the HP Deskjet 3755 driver installation steps?
To complete your HP Deskjet 3755 driver installation, follow the steps given below:
- Go to HP’s official website.
- Locate the HP Deskjet 3755 printer drivers link that corresponds to your operating system.
- Save the printer driver configuration file to your computer.
- To open the downloaded file, double-click it. Then, if prompted, select “Run.”.
- After that, the setup wizard will be displayed.
- From the drop-down menu, choose “Continue.”
- The option “Next” should be chosen.
- Check the box next to the agreement that reads “I have reviewed and agree.” Then choose “Next.” The drivers will be installed after that; please wait for the next prompt.
- Next, choose “Advanced setup” and then “Next.” It will begin the search for a printer.
- If your printer asks you to connect it to your computer through USB, go ahead and do it.
- Make sure the printer is turned on.
- Select “The device is already connected” from the drop-down menu, then click “Next.”
- Select “Finish” and your driver installation is complete.
How do I find HP Deskjet 3755 ink installation steps?
You must replace your ink cartridges when they are empty or running low on ink, and always make sure that you only install genuine HP ink cartridges or you might damage the quality. To complete your HP Deskjet 3755 ink installation, follow the steps given below:
- Turn the printer on.
- Fill the input tray with plain white paper.
- Carefully raise the cartridge access door using the knobs on either side of the printer until it clicks into place.
- The carriage will lean to the left somewhat.
- Before going, wait until the carriage is idle and silent.
- Pull the ink cartridge up and out of the slot by raising the slot’s lid.
- The first step is to remove the new ink cartridge from its packaging. Make sure you only touch the ink cartridge’s black plastic.
- Remove the ink cartridge’s plastic tape.
- Insert the ink cartridge into the slot with the nozzles facing the printer and snap it into place.
- To keep the ink cartridge in place, close the cover on the ink cartridge slot.
- Repeat these instructions to install the second ink cartridge if required.
- Close the access door to the ink cartridges.
- The printer automatically creates an alignment sheet when you replace the ink cartridges.
- Wait for the alignment page to eject from the printer before proceeding.
- Once the ink cartridges have been properly positioned in the printer, hit OK on the control panel.
How do I easily connect HP Deskjet 3755 to wifi?
Learn how to connect HP Deskjet 3755 to wifi, follow the steps given below:
Using Push button option:
- All WI-FI Protected setup devices typically include a push-button as an option.
- By pressing the button, the user may connect numerous devices to the network and enable data encryption.
- Hold down the WPS button on the control panel for a few seconds until the LED blinks.
- Now hit the PBS button on the wireless router once again.
- When compared to the WPS LED, the light blinks quickly.
- The printer begins to establish a connection with the wireless router.
- The WPS LED becomes steady when the connection is stable.
Using a WPS Pin:
- In most WI-FI Protected setup devices, entering a PIN technique is required.
- A unique PIN will be required for each device to join the HP Deskjet 3755 wifi secured setup network.
- Select the Start Network option. Add a wireless gadget to the mix.
- Click the NEXT button when you’ve found and selected your printer.
- When you enter the 8-digit Pin, it begins looking for a way in.
- Next, select the network you want to use.
A Complete Handy Guide on HP Deskjet 3755 Wireless Setup
To learn how to connect HP Deskjet 3755 to wifi and complete your HP Deskjet 3755 wireless setup, follow the steps given below:
HP Deskjet 3755 wireless setup on Windows:
- The HP wifi Direct or HP Wireless Direct features enable a direct wifi connection.
- Your printer’s control panel displays an HP wifi Direct/HP Wireless Direct icon, or a solid blue light lights the wifi Direct or HP Wireless button.
- By tapping the wifi Direct/HP Wireless button, you can turn this option on.
- On printers with display control panels, use the Menu options to navigate and touch the wifi Direct/HP Wireless Direct button.
- Swipe through your device’s settings and tap the wifi icon.
- Choose your printer from the drop-down menu.
- From the drop-down menu, choose a Network Menu.
- If prompted, enter the password to your wireless network.
- To complete the wireless connection, click proceed.
- Print a test page to make sure the connection is working.
- Your HP Deskjet 3755 connect to wifi setup is complete.
HP Deskjet 3755 wireless setup on Mac:
- Collect all pertinent data, such as the wireless network name and password.
- Turn on your HP Officejet 3755 printer, router, and computer.
- With your Mac, connect to the same wireless network as your HP Officejet 3755 printer.
- Go to the printer’s Control Panel after it has been turned on.
- Select the wifi I can present option from the printer’s Control Panel.
- By clicking on settings, you’ll be sent to the Wireless Setup Wizard.
- Locate and connect your printer to the wireless network of your choice.
- Download the required printer driver from the official HP website.
- To download and install your printer driver, follow the on-screen instructions
How do I scan on HP Deskjet 3755 Printer Hassle-Freely?
To learn how to scan on HP Deskjet 3755, follow the method given below to complete your HP Deskjet 3755 scan on windows and HP Deskjet 3755 scan on Mac.
How to scan with HP Deskjet 3755 on Windows devices:
To complete your scan on windows, follow the steps given below:
- Place your original document side down on the printer’s glass panel.
- The Scanner’s Deck should be closed.
- 123 HP Deskjet 3755 Printer Software Option Click on the Scan button under Print, Scan & Fax.
- Scan a document or a photo using the Document or Photo option.
- Select the appropriate scan type, then click Scan.
- For example, save as a JPEG or a PDF file.
- Note that if the Show Scan Preview option is selected, you may manually modify the scanned image from the preview screen.
- Select Store if you want to save the scan file for later use, otherwise click Done.
- Select Scan.
How to scan with HP Deskjet 3755 on Mac devices:
To complete your scan on Mac, follow the steps given below:
- Place your original document side down on the printer’s glass panel.
- The Scanner’s Deck should be closed.
- Launch the 123 HP Scanner Software application.
- Select the Settings tab and double-click to access the Scan tool.
- Select Scan from the drop-down menu.
- To scan a photo or document, follow the on-screen instructions.
Related Stories to Read :
HP Deskjet 2540 Printer Wireless Setup
HP Deskjet 2545 Printer Wireless Setup
HP Deskjet 3510 Printer Wireless Setup
HP Deskjet 3630 Wireless Setup
Related Posts

Subscribe
0 Comments