Hewlett Packard is one of the leading and renowned names in the world of printers.…
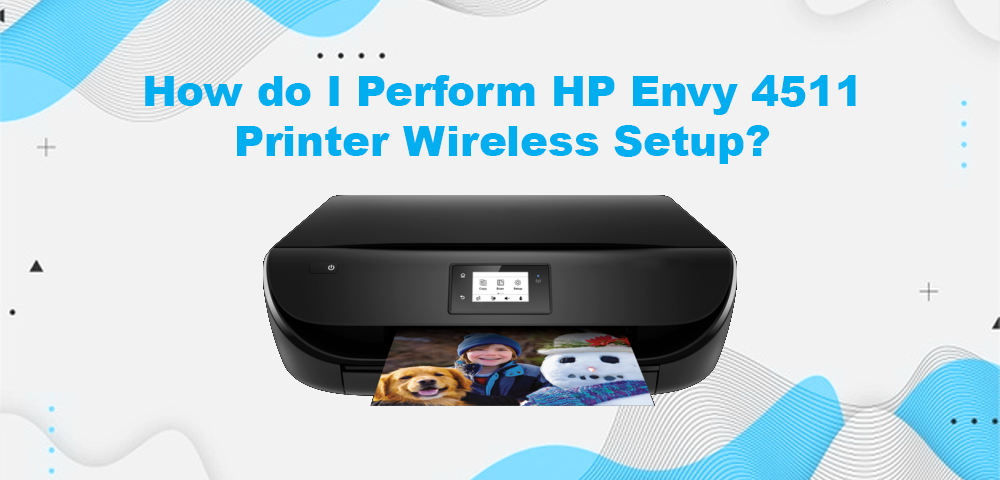
How do I Perform HP Envy 4511 Printer Wireless Setup?
The HP Envy 4511 inkjet printer, like most others, is regarded as the best of the printers on the market. This amazing printer can implement a wide range of creative projects in workplaces and even homes, and its potential is limitless.
Through the smartphone, the HP Envy 4511 can control printing jobs and print from anywhere. With only a tap, you may access the print button and connect to this all-in-one inkjet printer. Because the activities may be accessible through the 2.2-inch touchscreen, printing, scanning, and copying are all made simple.
To add to the ease, the printer can conduct duplex printing, or printing on both sides of the page, which saves up to 50% on paper or other media. Not only does it print cheaply, but it also has borderless printing as one of its many features. Because it prints to the edge of the paper, no portion of the picture is lost. Furthermore, the time-consuming task of photo cropping is eliminated. Because of its tiny footprint, the HP 4511 printer can fit almost any place, even though its features are extremely appealing.
Why is it important to read HP Envy 4511 printer manual?
Read this HP Envy 4511 printer manual to be able to complete your HP Envy 4511 inkjet printer setup and driver installation. There are some necessary and basic steps that the users must follow in order to ensure the successful installation of the HP Envy printer. This HP printer Envy 4511 printer manual contains instructions for driver installation, ink installation and replacement, first-time hardware and software set up, and wireless set up.
How do I Start with HP Envy 4511 driver installation steps?
To complete the HP Envy 4511 driver, follow the steps given below:
- The driver is available for download from the HP Envy 4511 Series official website.
- From the drop-down option, select ‘Choose a different OS.’
- Click the ‘down’ arrow beneath ‘Operating System’ to see the available operating systems, then choose your preferred OS from the list.
- Click the ‘down’ arrow beneath ‘Version’ to examine the available OS versions, then select your OS version from the list.
- In front of ‘Basic Drivers,’ click the ‘Plus’ sign.
- Click the ‘Download’ button to get the HP Envy 4511 Series basic driver. If you wish to understand more about the basic driver, click the ‘blue triangle.’
- You may use the same procedure to download additional HP software, firmware, utility tools, and so forth.
- Select “Run” after double-clicking the downloaded printer driver file.
- Wait until the files have been extracted before proceeding.
- To continue, click ‘Proceed.’
- Accept the conditions of the agreement and move on to the next step.
- Wait until the driver installation is complete before proceeding.
- After selecting the ‘Manual Setup’ option, click ‘Next.’
- Select ‘USB – Use a USB connection to connect the printer to this computer, then click ‘Next.
- You can connect your printer to your computer right now if you like, or you can do it later.
- To finish the driver installation, click ‘Finish.’
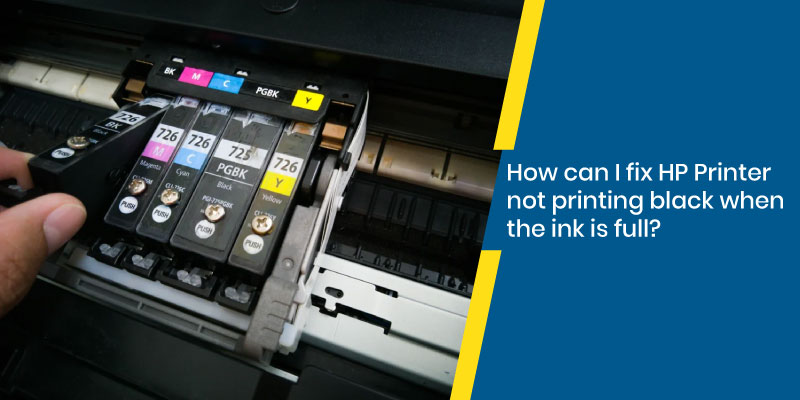
Handy Guide on HP Envy 4511 ink installation and replacement steps:
To complete the HP Envy 4511 ink installation, follow the steps given below:
- If the printer is not already turned on, press the Power button to turn it on.
- Before proceeding, wait until the printer is idle and silent.
- If you haven’t previously, load unused plain white Letter or A4-sized paper into the input tray.
- The access door should be opened. To do so, carefully grip the printer’s handles on either side, then lift the ink cartridge access door until it locks into place.
- Before proceeding, wait until the carriage is idle and silent.
- Lift the cover on the ink cartridge slot to release the ink cartridge, then gently press it back until it stops.
- Then, to remove the ink cartridge from the slot, pull it up.
- Take the cartridge out of its box. By holding the ink cartridge by its sides, you can only contact the black plastic on the ink cartridge.
- Using the pull tab, remove the plastic tape from the ink cartridge.
- Slide the ink cartridge forward into the slot while holding it by its sides with the nozzles facing the printer.
- Then close the latch until it snaps into place, securing the ink cartridge.
- If necessary, repeat the preceding procedures to install the other ink cartridge. On the left is the color ink cartridge, while on the right is the black ink cartridge.
- Close the access door to the ink cartridges.
What to do if you are performing HP Envy 4511 first time setup?
To complete the first time HP Envy 4511 setup, follow the steps given below:
- Take the printer out of the package after removing the protective tapes from the printer box.
- Check that you have all of the parts specified in the printer’s manual. Return the package to the seller if this is not the case.
- After you’ve double-checked the parts, keep an eye on the printer for tapes and other packaging materials.
- Inside the printers, there will be packaging materials that must be removed.
- Find the end of the power cable that has to be connected to the printer and the socket.
- Connect the ends as needed after turning on the switch. Allow a few minutes for the printer’s setup to complete.
- Once the printer has stabilized, fill the input tray with the necessary amount of paper.
- Check the printer’s manual to see which media types it accepts.
- Keep in mind the maximum allowable paper height on the paper tray while inserting papers.
- Before placing the ink cartridges into the slots, verify the color codes on the cartridges.
- Finally, make your selections for date, time, language, and other factors.
- Visit the HP website for further information.
- Depending on your operating system, download the relevant printer driver.
- Run the downloaded file and follow the on-screen instructions.
Easy ways to perform HP Envy 4511 wireless setup:
To complete your HP Envy 4511 wireless printer setup, follow the steps given below:
- Go to the printer’s Control Panel and press the wireless icon.
- Press the down arrow to start scrolling and click on the wireless setup wizard.
- The result will begin searching for all the available networks in your area, click on the down arrow to find the name of your wireless network and click okay
- Press the down arrow to start scrolling to enter a new network name and click okay.
- Scroll and press on done and the printer will start connecting to the network.
- Enter the WEP or WPA key for your wireless network once prompted by the printer
- After you’ve entered the key scroll down and click on done.
- Your wireless setup is complete.
How do I connect HP Envy 4511 printer to wifi?
To learn how to connect HP Envy 4511 printer to wifi, follow the steps given below:
- Switch on your printer.
- Locate the WPS button on your router but do not press it.
- If your network does not support WPS, proceed to step 2 to connect the printer to the HP Smart app.
- Now, hold down the WPS button on the router for 3 to 5 seconds, or until the WPS connection procedure begins.
- Your printer will stop seeking for a WPS connection two minutes after hitting the wifi button.
- A list of all available networks will be shown, scroll to find your preferred wireless network and click on it.
- Enter the WPA key or password for your wireless network to complete the connection.
- If you can’t get the WPS button to work in that frame, redo the operation.
Now that you have known the steps for wirelessly setting up steps for HP Envy 4511 Printer, make sure that you follow the guidelines as instructed above.
Related Stories to Read :
Related Posts
Subscribe
0 Comments