Hewlett Packard is one of the leading and renowned names in the world of printers.…
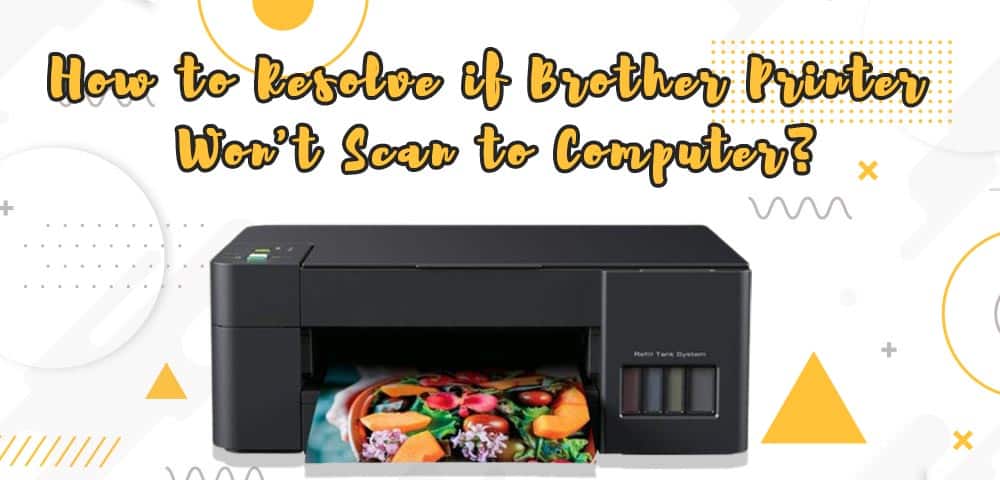
How to Resolve if Brother Printer Won’t Scan to Computer?
Known for producing excellent print quality output and exhibiting innovative design, Brother Printers are significantly gaining popularity over the past few years. Once you set up the printer, you can start using both the wired or wireless-enabled devices to print your documents and photographs with ease. However, like other all-in-one printers, the Brother Printer won’t scan to computer due to specific reasons. While such instances can be frustrating, if you can identify the actual reason behind the issue, you can get rid of the problem in no time.
Here, we will discuss the various factors that restrict a Brother Printer from scanning to a computer and guide you with the various troubleshooting methods. As such, you can ensure the smooth functioning of the device and harness yourself with some of the most effective troubleshooting skills to resolve similar issues that may trigger in the future. Read on!
Brother Printer Prints But Won’t Scan? Here’s Why!
Before we dive into the troubleshooting part, let’s understand why a Brother Printer will not scan; however, it can print effortlessly. This will help you resolve the issue both effectively and quickly. One of the most common reasons why a Brother printer won’t scan is when the machine is turned off. It is important that the printing machine is turned on and it is not in an idle state. Besides, if the printer is displaying any error notification such as paper jam, ink/toner empty, etc., it might happen that your Brother printer won’t scan.
Apart from one of the most common reasons why a Brother Printer will print but not scan mentioned above, any issues with the Brother printer’s scanner driver can restrict you from scanning any document. As such, you can check if the appropriate scanner driver is installed on your computer. Here’s how you can do so:
- Press the “Windows+R” buttons together to open the Run dialog box.
- Type “control” in the space provided and hit Enter.
- Once the Control Panel open, type “scanner” in the Control Panel’s search box.
- Click on “View scanners and cameras”.
- Check for the required scanner icon for your Brother Printer. If it’s not there, install the driver.
- Visit the printer manufacturer’s official website and go to the “Downloads” section.
- Download the relevant scanner driver for your device and follow the on-screen prompts to install it on your computer.
How Do I Get My Brother Printer to Scan to My Computer?
It is important that you follow the correct procedure of scanning a document to your computer while using a Brother Printer. Instances occur when users end up encountering issues like Brother Printer scan Brother Printer wont scan as the correct scanning procedure is not followed. To start with the scanning, you must load the document or photograph onto the scanning glass of the printer whale ensuring that the printer is turned on. The next step requires you to click on the “Windows Fax and Scan” option followed by a click on “New Scan”. In case there are multiple imaging devices installed on your computer, you must select your scanner and then click on “OK”.
Once you complete the series of steps mentioned above, you can set the scanning options and click on the “Scan” option to complete the process.
How to Resolve Brother Printer Scan to PC not Working?
Identifying the root cause of Brother Printer scan to computer issues will help you resolve the issue more effectively and quickly. Although there are multiple ways to resolve when Brother Printer won’t scan to computer, the below-mentioned are some of the most effective ones. You can follow them the exact way and ensure a quick recovery from the scanning issue you’re facing while using a Brother printer.
- Check the printer’s IP address:
If your Brother Printer won’t scan, you can print a network configuration lost to obtain the device’s IP address. The list consists of a report of the entire current network configuration along with the network print server settings. If you don’t know how to print the network configuration list using your Brother Printer, follow the series of steps mentioned under:
- On your Brother Printer, press the “Menu” button.
- Select “Print reports” and then press “Network Config”.
- Press “OK” and then select “Black (Mono) Start” or the “Color Start or Start” option.
- Press Stop/Exit.
- Set the scanner driver’s IP address:
You can go to the Control Panel of your computer and then type “scanner” in the search field. Once done, follow the below-mentioned steps to set the scanner driver’s IP address:
- Click on “View scanners and cameras”.
- Choose the scanner from the list of options.
- Click on “Properties” and on the UAC screen, click “Continue” or “Yes”.
- Click on the “Network Setting” tab and select “Specify your machine by address”.
- Enter the device’s IP address and click on “OK” to complete the process.
- Check the Firewall Settings:
Instances might occur when the firewall or other security program installed on your computer restricts your Brother Printer from scanning any documents. This usually happens when the firewall rejects the network connection required for the network scanning software to function properly. Resolving such issues require you to turn off the firewall from your computer and try to scan again. If you see that the issue, Brother Printer prints but won’t scan resolve, you can disable the firewall whenever you need to scan a document using the printer. You can follow the below-mentioned steps to disable the firewall on your Windows computer:
- Go to the Control Panel of your computer and open “System and Security”.
- Click on the “Windows Defender Firewall” option.
- Select “Network and Sharing Center” located at the bottom-left corner of the Control Panel window.
- From the “View your active networks” section, check your network location.
- Return to the Control Panel and click on “Windows Firewall”.
- Select the “Turn Windows Firewall on or off” option.
- Select “Turn off Windows Firewall for your network location” and click on “OK”.
- After performing a network operation, turn on the firewall again.
- Check if the Control Center is running
The Control Center must be running in order to ensure that your Brother Printer scans a document. You can follow the below-mentioned steps to ensure this:
- Click on the Start menu and then on “All Apps”.
- Click on “Brother” and then on “Brother Utilities” followed by “Control Center”.
- Check if you are able to scan a document. If not, proceed to the next troubleshooting step.
- Ensure that the correct scanner driver is installed on your computer and that the port is correctly configured.
- Go to Scanner Properties.
- Click on the “Network Setting” tab under “Network Scanner Properties”.
- Select the option, “Specify your machine by address” or “Specify your machine by name”.
While performing the step no.7, if you prefer selecting the machine by address, you must enter the IP address of the printer and click on “Apply” followed by “OK”. On the other hand, if you prefer specifying the machine by name, you need to enter the node name in the Node Name box.
Scanning a Document as PDF using Brother Printer
Users often require Brother Printer scan to PDF to fulfil their specific needs. If you have a document that needs to be scanned as PDF and you want your Brother Printer to fulfil it, you can do so by following some simple steps. Although the process of scanning a document to PDF is simple and straightforward, you must carefully adhere to the recommended instructions to avoid any error.
For Windows PC
If you have the Windows OS installed on your computer, first, go to the Control Center and then select “Brother Utilities supported models. Further, you need to open Brother Utilities and select the “Scan” option. Next, click on the “Control Center 4” option and open the “Device Scan Settings” window. If you go to the Home mode, click on the “Device Settings” tab followed by “Device Scan Settings”. However, in the “Advanced Mode”, you need to click on “Device Settings” followed by “Device Scan Settings”. Here, you need to go through the below-mentioned steps:
- On the “Device Scan Settings” window, click on the “File” tab.
- Select PDF (*.pdf) in “File Type”.
- Change the settings as required and click on “OK” to save the changes.
For Macintosh
Using a Mac, you can get an answer to questions like how to scan Brother Printer and save in PDF, by following the steps mentioned under:
- Go to the Control Center on your Mac.
- Click on “Go” from the Finder bar and select Applications followed by Brother and Control Center.
- Double-click on the Control Center.
- Press and hold the Ctrl key and click on “File”.
- Click on the Device Button tab and select PDF (*pdf) in the File Type.
- Change the scan settings and click on “OK”.
After saving the scanned document in PDF, if you want, you can send the Brother Printer scan to email by simply attaching the saved document while composing the email from your email account.
Issues like Brother Printer won’t scan to computer can be frustrating, especially when there’s urgency. However, if you can identify the actual cause behind such issues, you can troubleshoot the problem in no time and ensure continued scanning of your document. Follow the various ways of troubleshooting as mentioned in this post and ensure a quick recovery for scanning issues arising on your Brother Printer.
Related Stories To Read:
My Brother Printer Not Connecting To My Computer
How to connect brother printer to WIFI
Brother Printer offline
Why Won’t My Brother Printer Print
Related Posts
Subscribe
0 Comments